Creating Wormholes
What are Wormholes?
Wormholes are a kind of highly efficient portal-to-portal teleportation system. The portals are marked with visual effects.
Wormhole mechanics
Wormholes can do the following:
- Go through one portal to reach the destination portal, and go from the destination portal back to the first one.
- Play a sound when players go through them
- Temporarily blind players while going through them to smooth the transition
- Lock players out of teleportation until more than 5 seconds have passed and they have moved beyond
1.5 × sizeMultiplier + 2blocks from the destination portal, to avoid getting caught in a teleport loop - Automatically disable flight mode when players teleport
- Play elaborate visual effects
- Require permissions to use the wormhole
- Require the use of currency to use the wormhole
- Notify players and admins when the destination portal is not available
Players are only checked against a wormhole every 5 ticks (a quarter of a second), and only while they are within 30 blocks of it.
Changing worlds counts as leaving the destination portal's radius, so the 5-second requirement is the only one left after a world change. Reconnecting clears the cooldown.
Creating a Wormhole
Add configuration files to plugins/EliteMobs/wormholes. Subfolders are supported, for example plugins/EliteMobs/wormholes/dungeonName/dungeonName_identifier.yml.
Placing a wormhole in-game
Instead of writing the coordinates by hand you can stand where you want the portal to be and run:
/em place wormhole <filename> <1/2>
1 sets location1, 2 sets location2. The command requires the elitemobs.place.admin permission, must be run by a player, and writes the new coordinates straight into the wormhole's configuration file. The portal is anchored one block (times sizeMultiplier) above where you were standing, so players arriving through it drop onto the block you were on.
Arrival direction
Yaw and Pitch (the last two numbers in the coordinates) in location1 and location2 set the direction the player is facing when they arrive at that side of the wormhole. Let's look at this example:
location1: my_world,20,10,20,180,20
With Yaw set to 180 the player arrives facing North. Pitch follows the Minecraft convention where positive values look down and negative values look up, so a Pitch of 20 means the player arrives looking slightly downwards.
Note that the wormhole does not push players anywhere; the arrival location is simply the other side's coordinates, including its yaw and pitch.
Wormhole Config
The following is an example of a valid Wormhole config:
isEnabled: true
location1: em_primis,1288.5,19,452.5,135,-23
location2: em_primis,1288.5,-39,451.5,180,-1
isEnabled
Sets if the wormhole is enabled.
| Key | Values | Default |
|---|---|---|
isEnabled | Boolean | true |
Example
isEnabled: true
location1
Specifies the first location for the wormhole. Both location fields accept world,x,y,z,yaw,pitch, or a dungeon package filename such as adventurers_guild_hub.yml. A package reference resolves its configured teleport location. Install the package and load its world before using the portal. Teleportation checks the resolved location and loaded world, rather than enforcing the package's installation flag separately. It does not create a new dungeon instance.
| Key | Values | Default |
|---|---|---|
location1 | String | none |
Example
location1: world_one,50,100,50,0,0
location2
Specifies the second location for the wormhole.
| Key | Values | Default |
|---|---|---|
location2 | String | none |
Example
location2: world_two,100,33,100,0,0
location1Text
Sets the display text of the first location.
| Key | Values | Default |
|---|---|---|
location1Text | String | none |
Example
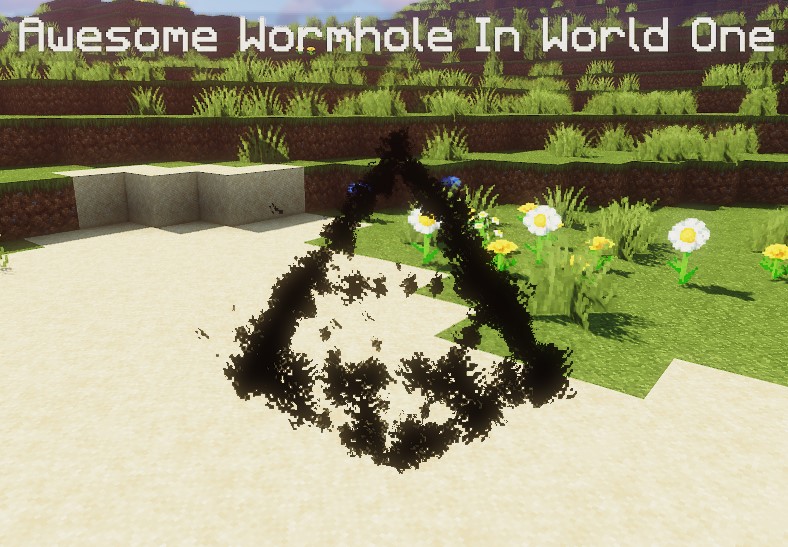
location1Text: Awesome Wormhole In World One
location2Text
Sets the display text of the second location.
| Key | Values | Default |
|---|---|---|
location2Text | String | none |
Example
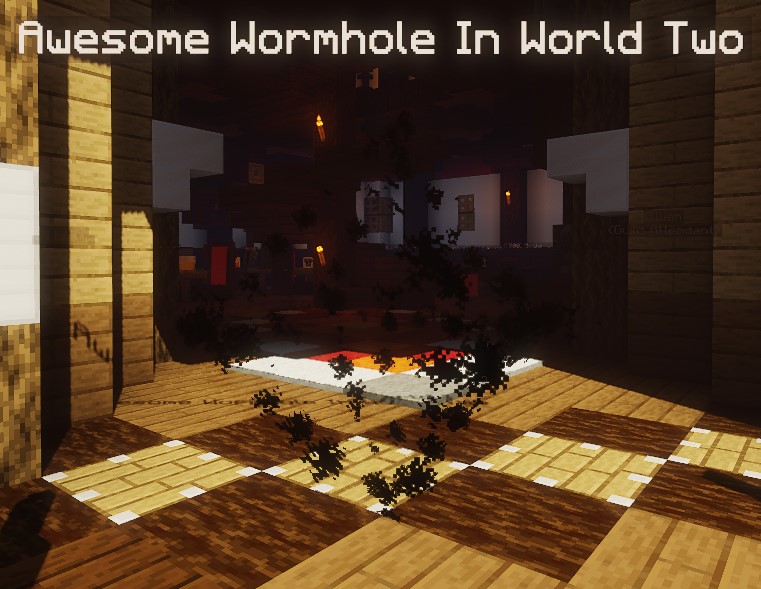
location2Text: Awesome Wormhole In World Two
permission
Sets the permission required to use the wormhole in either direction. Players with /em quest bypass enabled skip this permission check, but still face the currency and cooldown checks.
| Key | Values | Default |
|---|---|---|
permission | String | none |
Example
permission: elitemobs.mypermission
coinCost
Sets the cost of using the wormhole. It uses elite coins, or the server currency when Vault economy integration is enabled.
The cost is charged only after the permission, cooldown and destination checks pass, and the same cost applies in both directions. A player who cannot pay receives insufficientCurrencyForWormholeMessage from Wormholes.yml and is not teleported. If the teleport is cancelled or does not arrive, the charge is refunded.
If the economy cannot confirm a withdrawal or a refund, EliteMobs tells the player to contact an administrator, logs the amount for manual reconciliation, and blocks that player from all wormholes until the server restarts. A negative or non-finite coinCost logs a warning and the wormhole does not teleport anyone.
| Key | Values | Default |
|---|---|---|
coinCost | Double | 0 |
Example
coinCost: 0
style
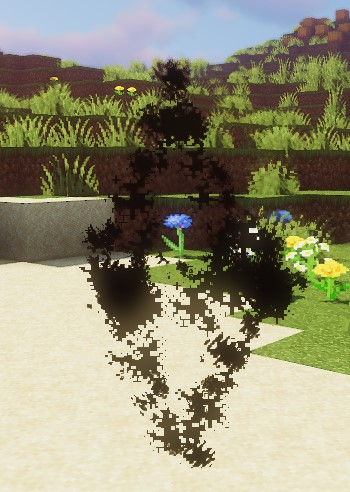
Sets the visual shape of the wormhole.
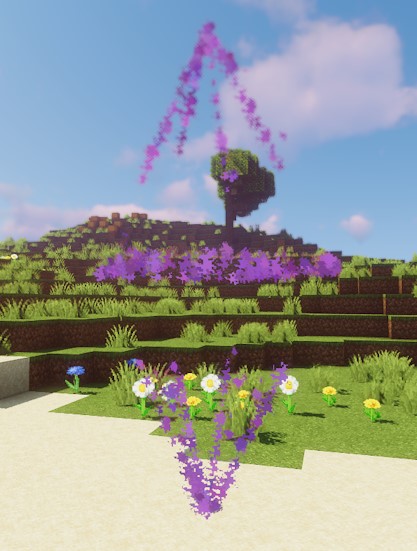
The shape is drawn as a rotating wireframe made of block displays, with a light dusting of particles added on top every 5 ticks. Setting style to NONE skips the shape entirely.
The effects that make up these shapes can cause lag in certain clients. Set noParticlesMode: true in Wormholes.yml to disable the wireframe and its particles. This keeps portal text, custom models and the separate Bedrock marker.
| Key | Values | Default |
|---|---|---|
style | NONE / CRYSTAL / ICOSAHEDRON / CUBE | CUBE |
Example
style: CRYSTAL
particleColor
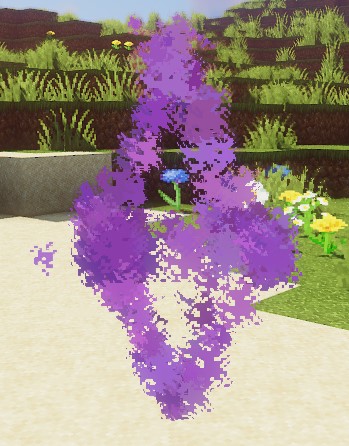
Sets the color of the particles used in the style setting. The wireframe blocks do not use the exact color; EliteMobs picks the concrete block whose color is closest to the one you set.
The default of 0 is black, so it is worth setting this on every wormhole you make.
| Key | Values | Default |
|---|---|---|
particleColor | 0x followed by a hexcode | 0 |
Example
particleColor: 0x9f5cdd
blindPlayer
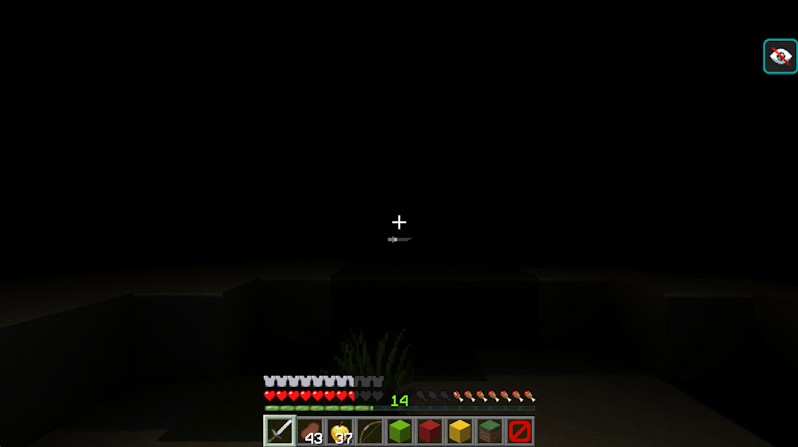
Sets whether the portal applies blindness for 40 ticks, about 2 seconds, during teleportation.
| Key | Values | Default |
|---|---|---|
blindPlayer | Boolean | false |
Example
blindPlayer: true
sizeMultiplier
Multiplies the shape set by style and changes the activation radius to 1.5 × sizeMultiplier blocks. Distance includes height, and the separate 30-block player scan still limits activation. Use a finite positive number. This setting also affects placement height and text height, but does not resize a FreeMinecraftModels model.
| Key | Values | Default |
|---|---|---|
sizeMultiplier | Multiplier | 1 |
Example
sizeMultiplier: 3
Keep in mind that you will have to adjust the Y coordinates of the wormhole after applying the size multiplier.
customModel1
Sets a custom model to use for the wormhole display at the first location. Uses a model identifier string. This overrides the shape defined in style for location 1.
Custom models on wormholes only work with FreeMinecraftModels; the model must exist or the wormhole falls back to the style wireframe. The model is purely decorative and cannot be clicked - teleporting is still based on proximity.
| Key | Values | Default |
|---|---|---|
customModel1 | String | none |
Example
customModel1: my_custom_wormhole_model
customModel2
Sets a custom model to use for the wormhole display at the second location. Uses a model identifier string. This overrides the shape defined in style for location 2. The same FreeMinecraftModels requirement as customModel1 applies.
| Key | Values | Default |
|---|---|---|
customModel2 | String | none |
Example
customModel2: my_custom_wormhole_model
Wormhole Config Example
In this example we will make a simple wormhole that takes us from one world into another. Do not forget that wormholes can also just teleport players to a different location in the same world.
isEnabled: true #We enable the worm by setting this value to true
location1: my_world,1.5,11.0,1.5,108.0,5.0 #this is where the wormhole will appear in my_world
location2: my_other_world,766.5,29.0,517.5,-136.0,5.0 #this is where the wormhole will appear in my_other_world
location1Text: "&aGo to My World" #makes a nice display text above wormhole location1
location2Text: "&aGo to My Other World" #makes a nice display text above wormhole location2
permission: eliteperm.coolplayers #only players with this permission will be able to use the wormhole, both for location1 and location2
coinCost: 0 #free to use; a positive value charges elite coins, or Vault currency when Vault is enabled
style: CRYSTAL #this wormhole will be in the shape of a crystal
particleColor: 0x00ff00 #this will set the wormhole particles to green
blindPlayer: true #the wormhole teleport will blind the player for a short duration to make the transition less jarring
sizeMultiplier: 1.0 #sets how big the shape of the wormhole should be
Performance Issues
The wormhole effects can cause client performance issues for players that are running Bedrock. You can configure their performance in plugins/EliteMobs/Wormholes.yml:
reducedParticlesMode: true(default) - Reduces the number of points traced along the shapenoParticlesMode: false(default) - Setting this totruecompletely disables the wormhole shape and particles
While either option is enabled, Bedrock players can also see a simple marker when the server's Bedrock custom-entity bridge is available. It uses particleColor and a scale of at least 0.5. A successfully loaded custom model replaces this marker. Java players never see it.
The wireframe updates only while a player within 30 blocks has line of sight to the portal. It is cleared after about 5 seconds without line of sight, or when no players remain nearby. This visibility rule does not disable proximity teleportation or the separate custom-model display.